Installing Jenkins on Google Cloud Platform

In this post, I explain how to correctly set up a production-ready FREE Jenkins installation on Google Cloud Platform.
Continuous Integration (CI) proved to be of extreme importance to developer productivity. Implementing a CI pipeline sets the framework for code contributors to make sure their new additions/deletions improve the code base and don’t fall back to a non-ending journey of debugging. When it comes to implementing the pipeline, there are many cloud-based tools that can make this automation easier. For example, CircleCI, Travis CI, GitLab CI and the newly-introduced (at the time of writing) GitHub Actions. However, there are some cases where a project needs to self-host its automation server, and this is where Jenkins comes as a well-developed and well-maintained automation server.
In this post, I show how to correctly set up a prodcution-level master Jenkins server. This demo is implemented on Google Cloud Platform as it offers unlimited free (forever or until further notification) Compute Engine instance. It is a small instance (F-1 micro), but should be fine for small tasks. If you have builds that take longer times, or requires a large amount of memory, you should start a bigger server on any cloud provider. Also, we will use Debian GNU/Linux 9 as the OS on whichever instance you choose.
Create Compute Engine Instance
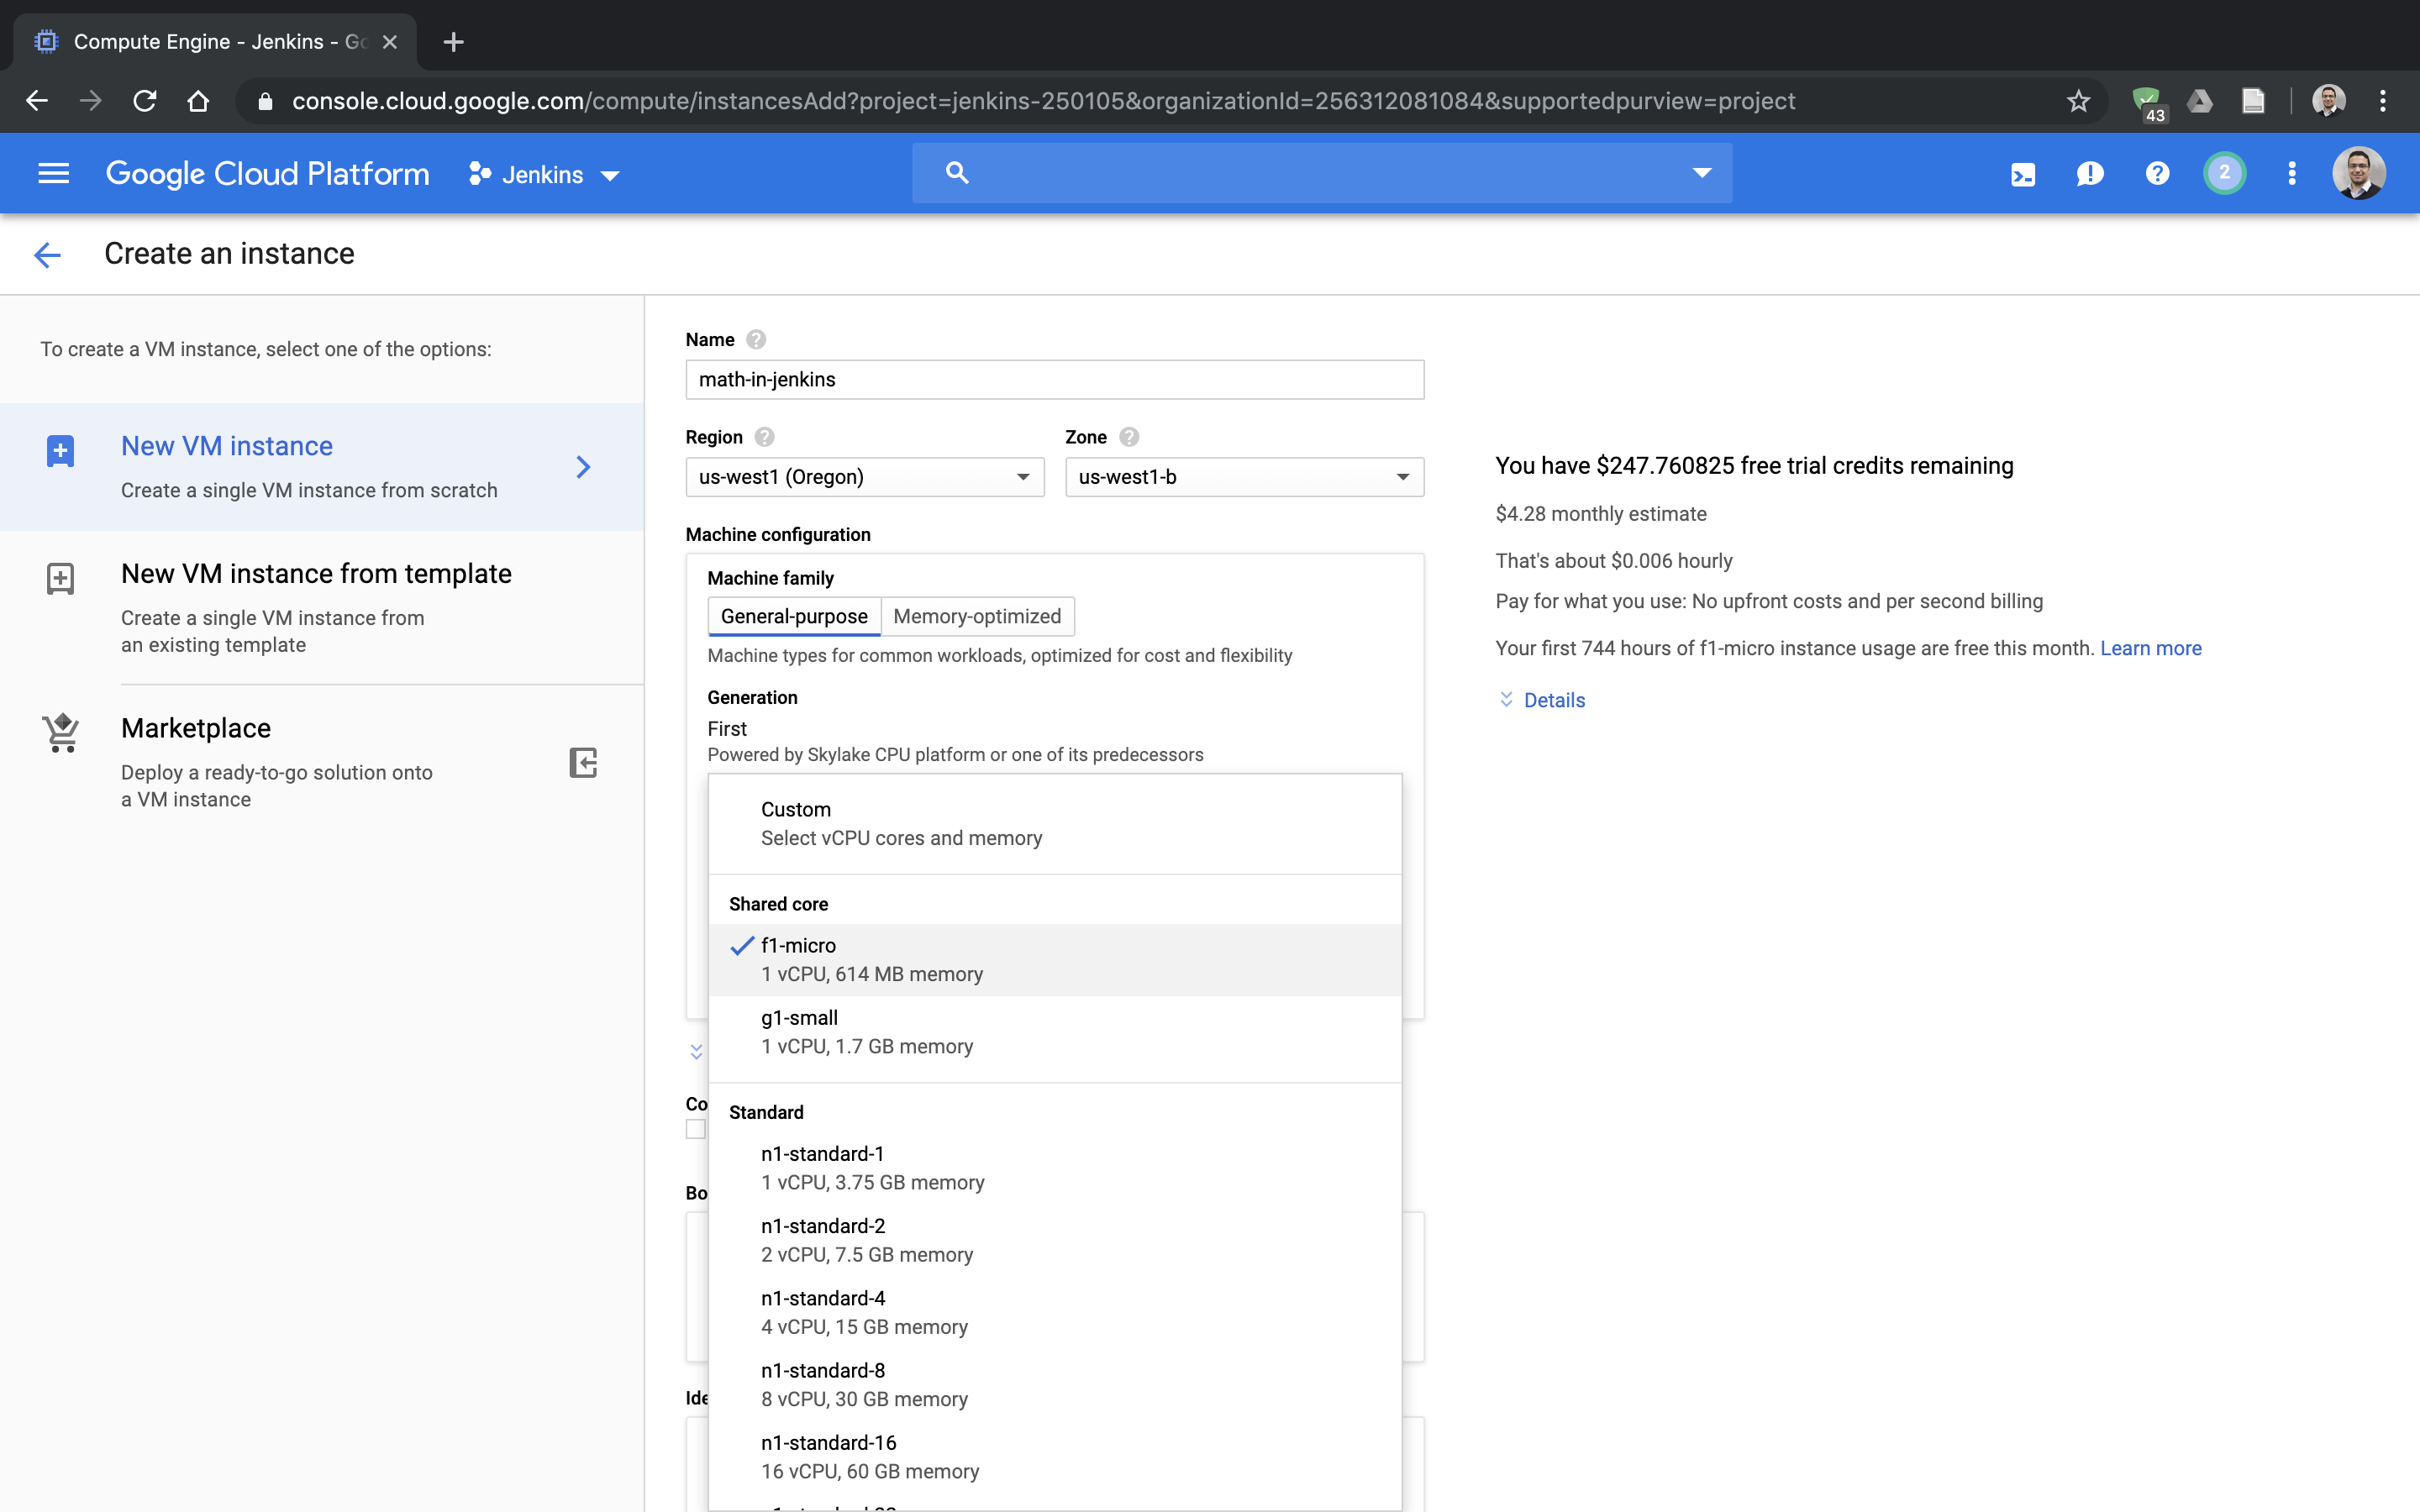
STEP 1: Create an account at https://cloud.google.com and navigate to the Compute Engine section. It will ask you to create a project that resources will get assigned to. The screen you should start from in this tutorial is shown below. 
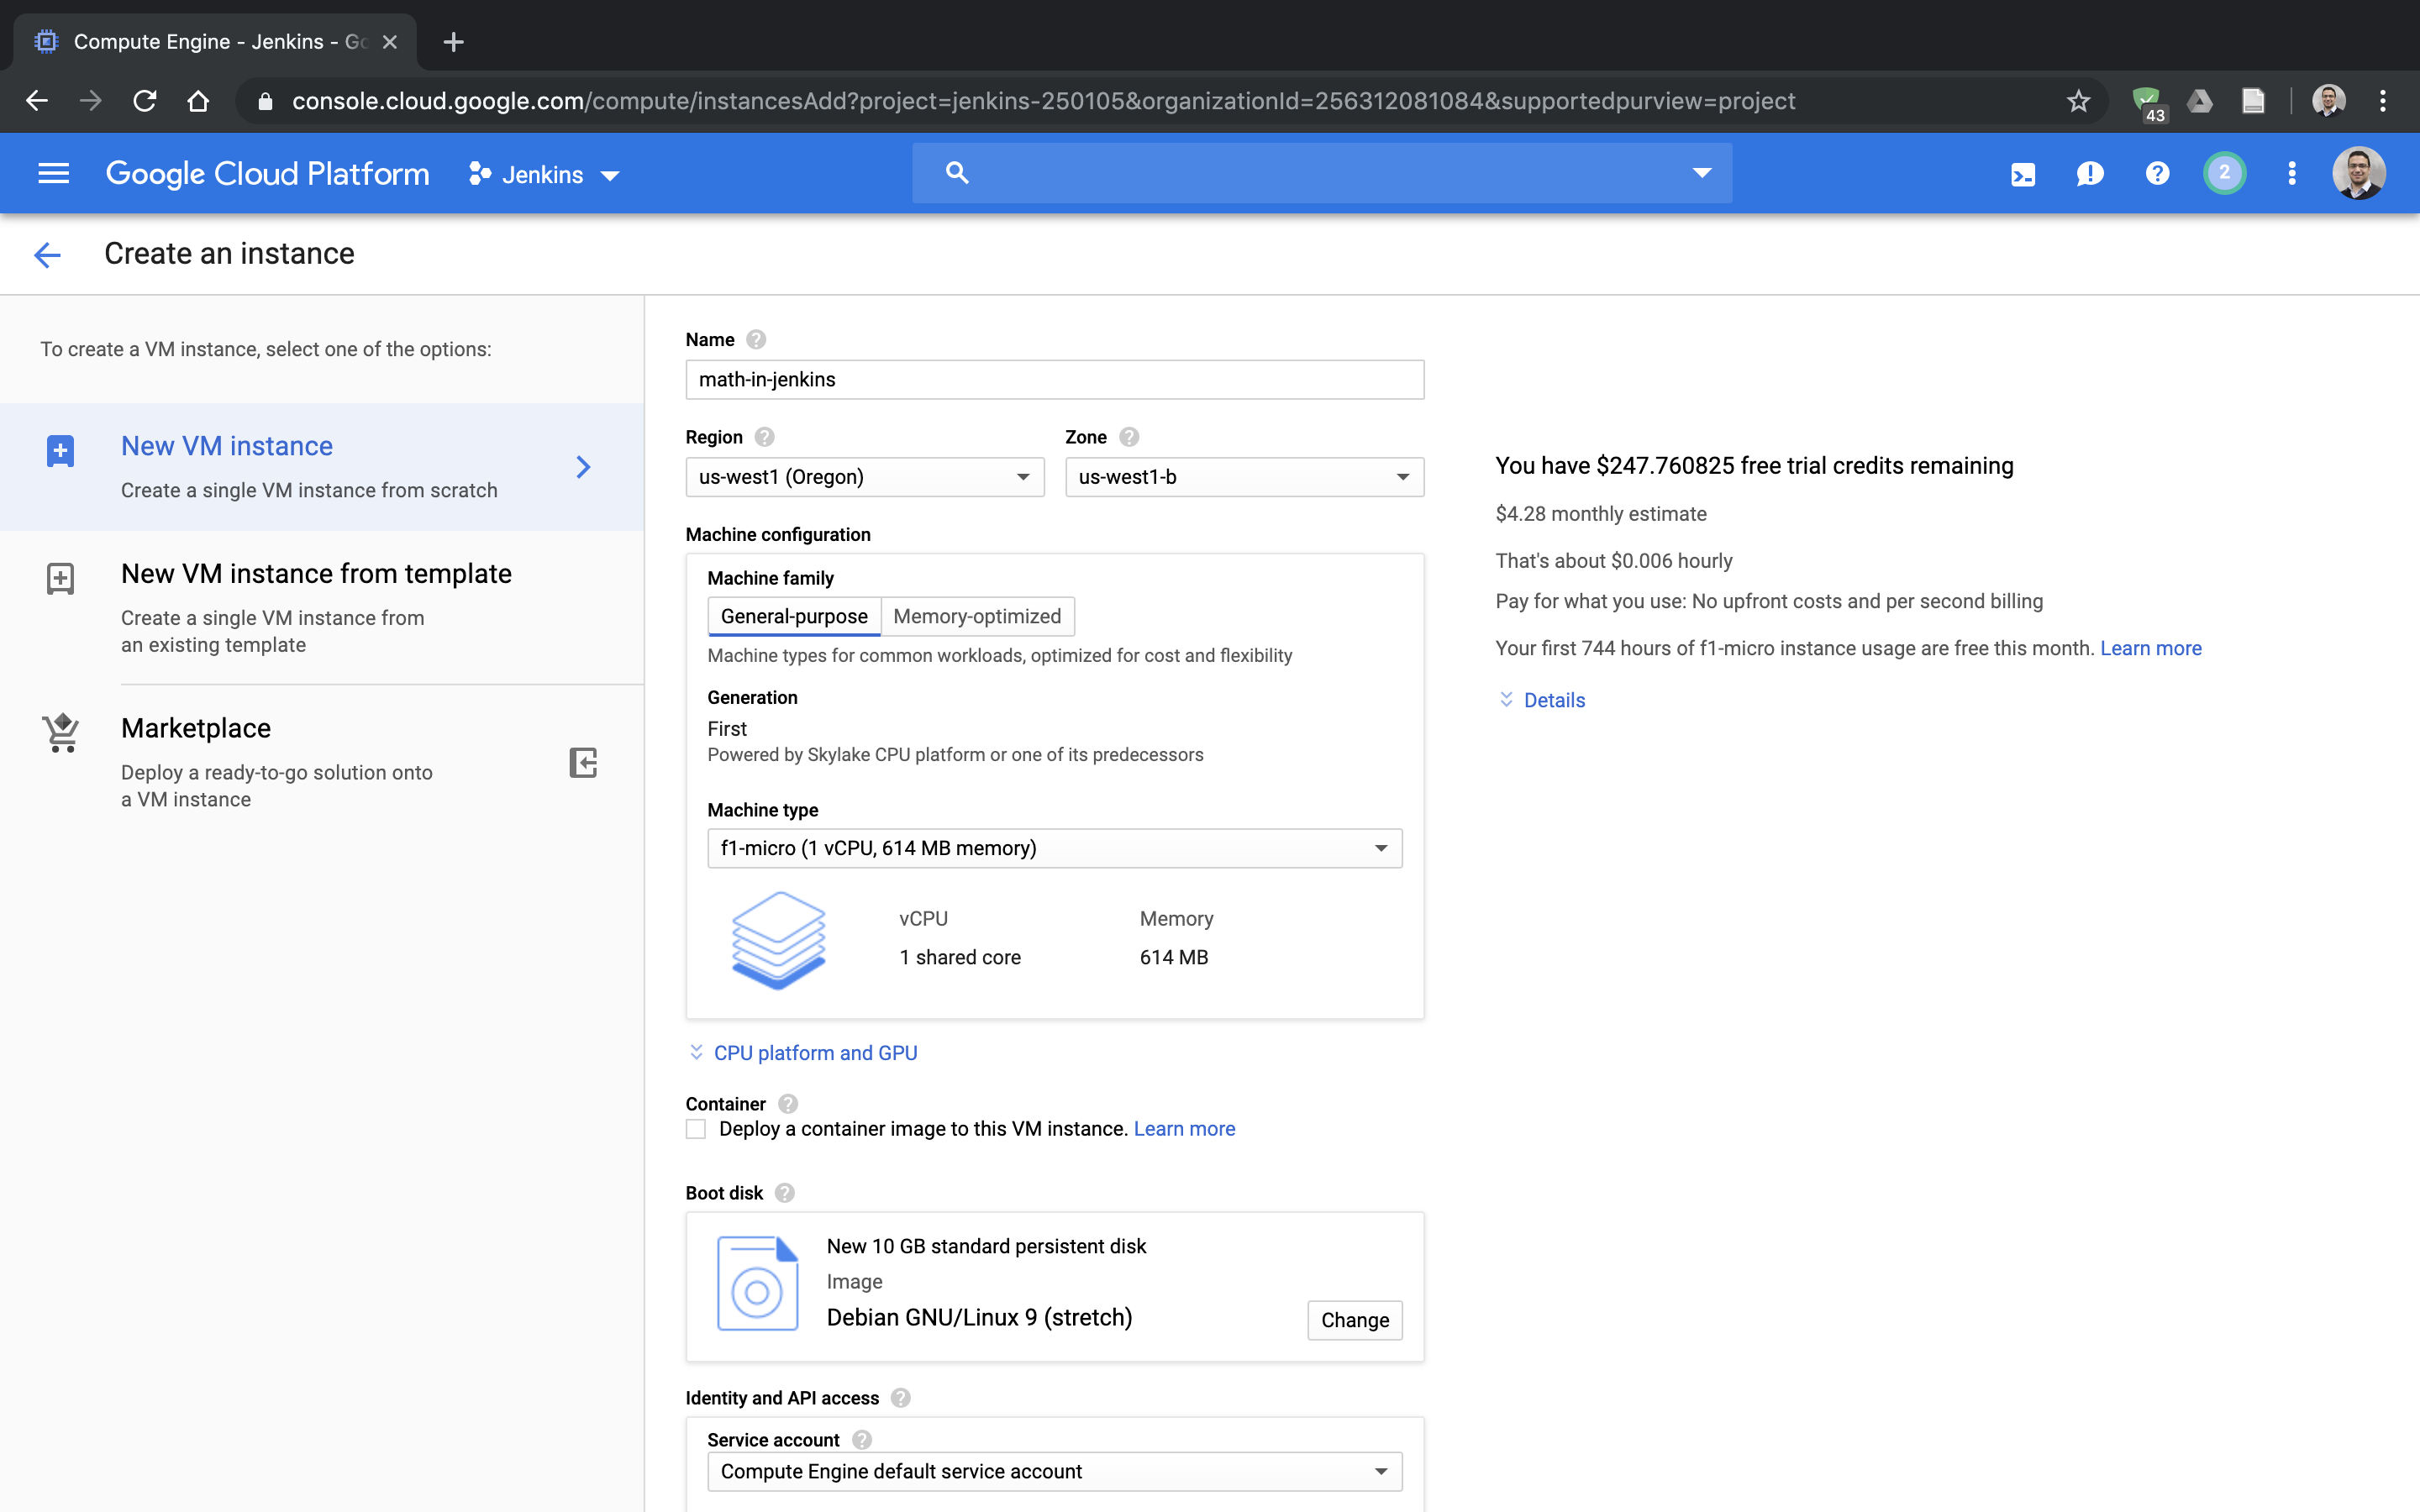
STEP 2: Click Create and type in instance name. Choose a general purpose instance, and the size should be F-1 micro (which is the one available for free).
STEP 3: Select Debian GNU/Linux 9 (stretch).
STEP 4: Configure network access by choosing allow defaul access. Also, make sure to allow HTTP and HTTPS traffic.
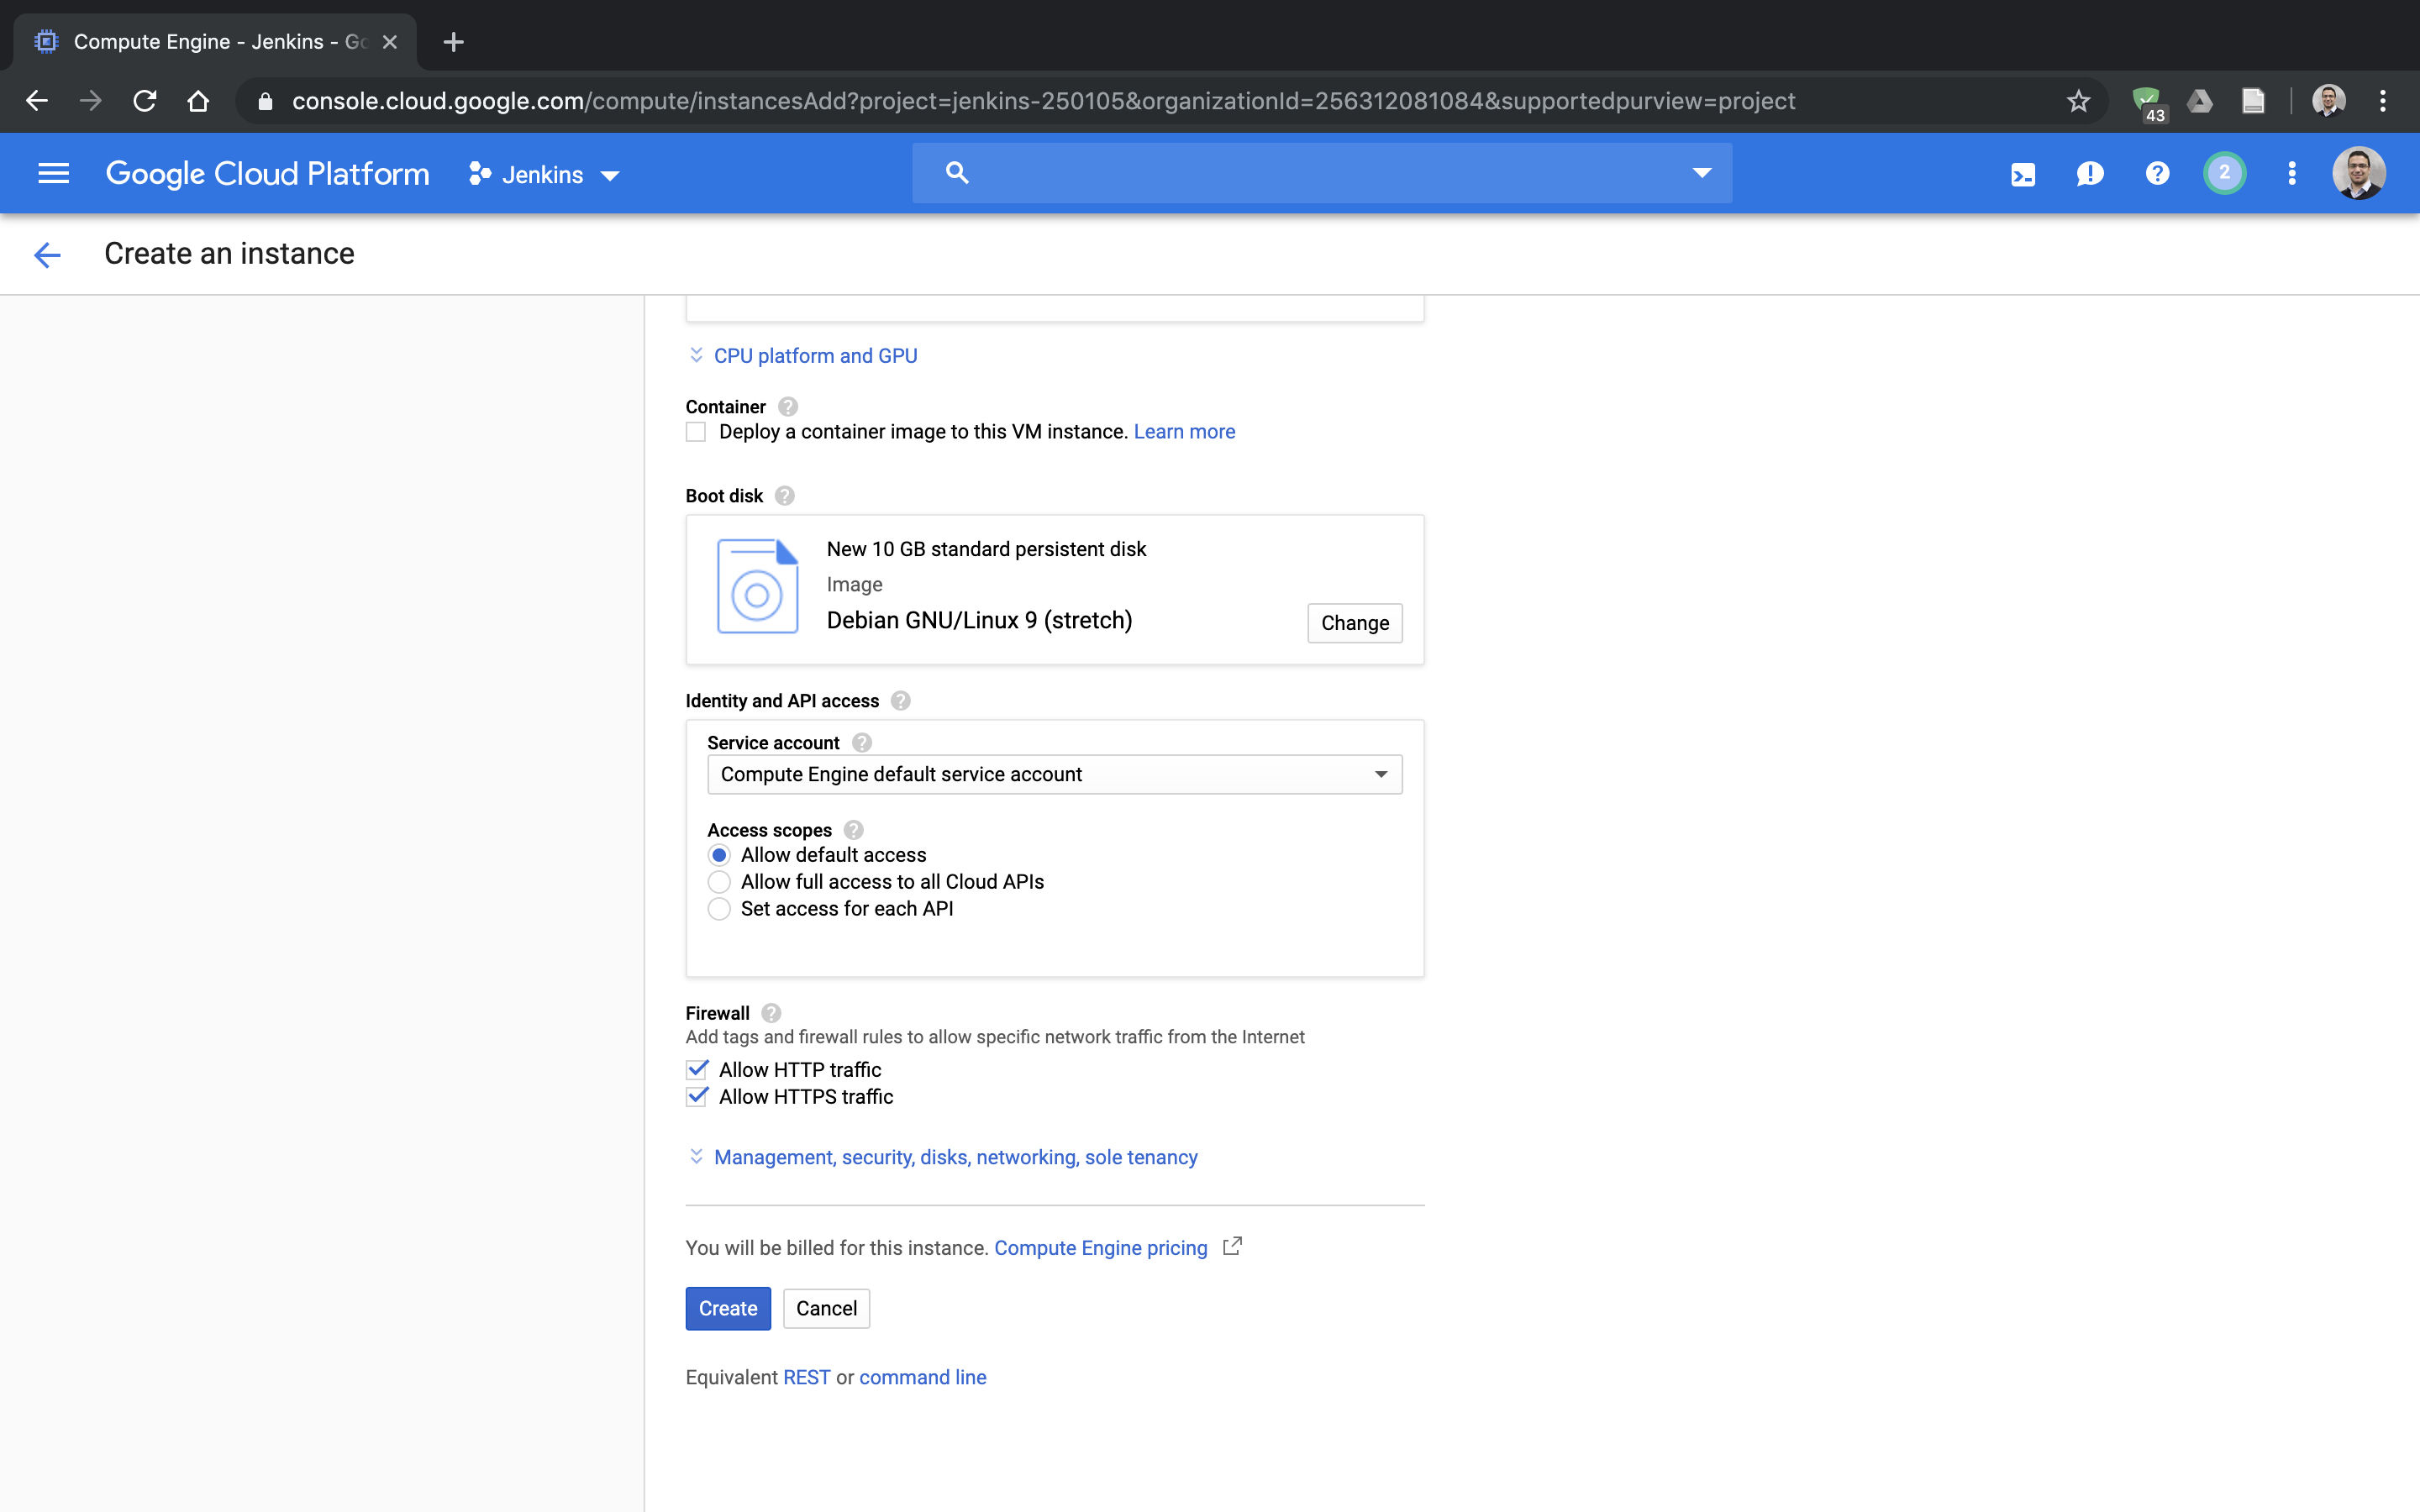
STEP 5: Click Create
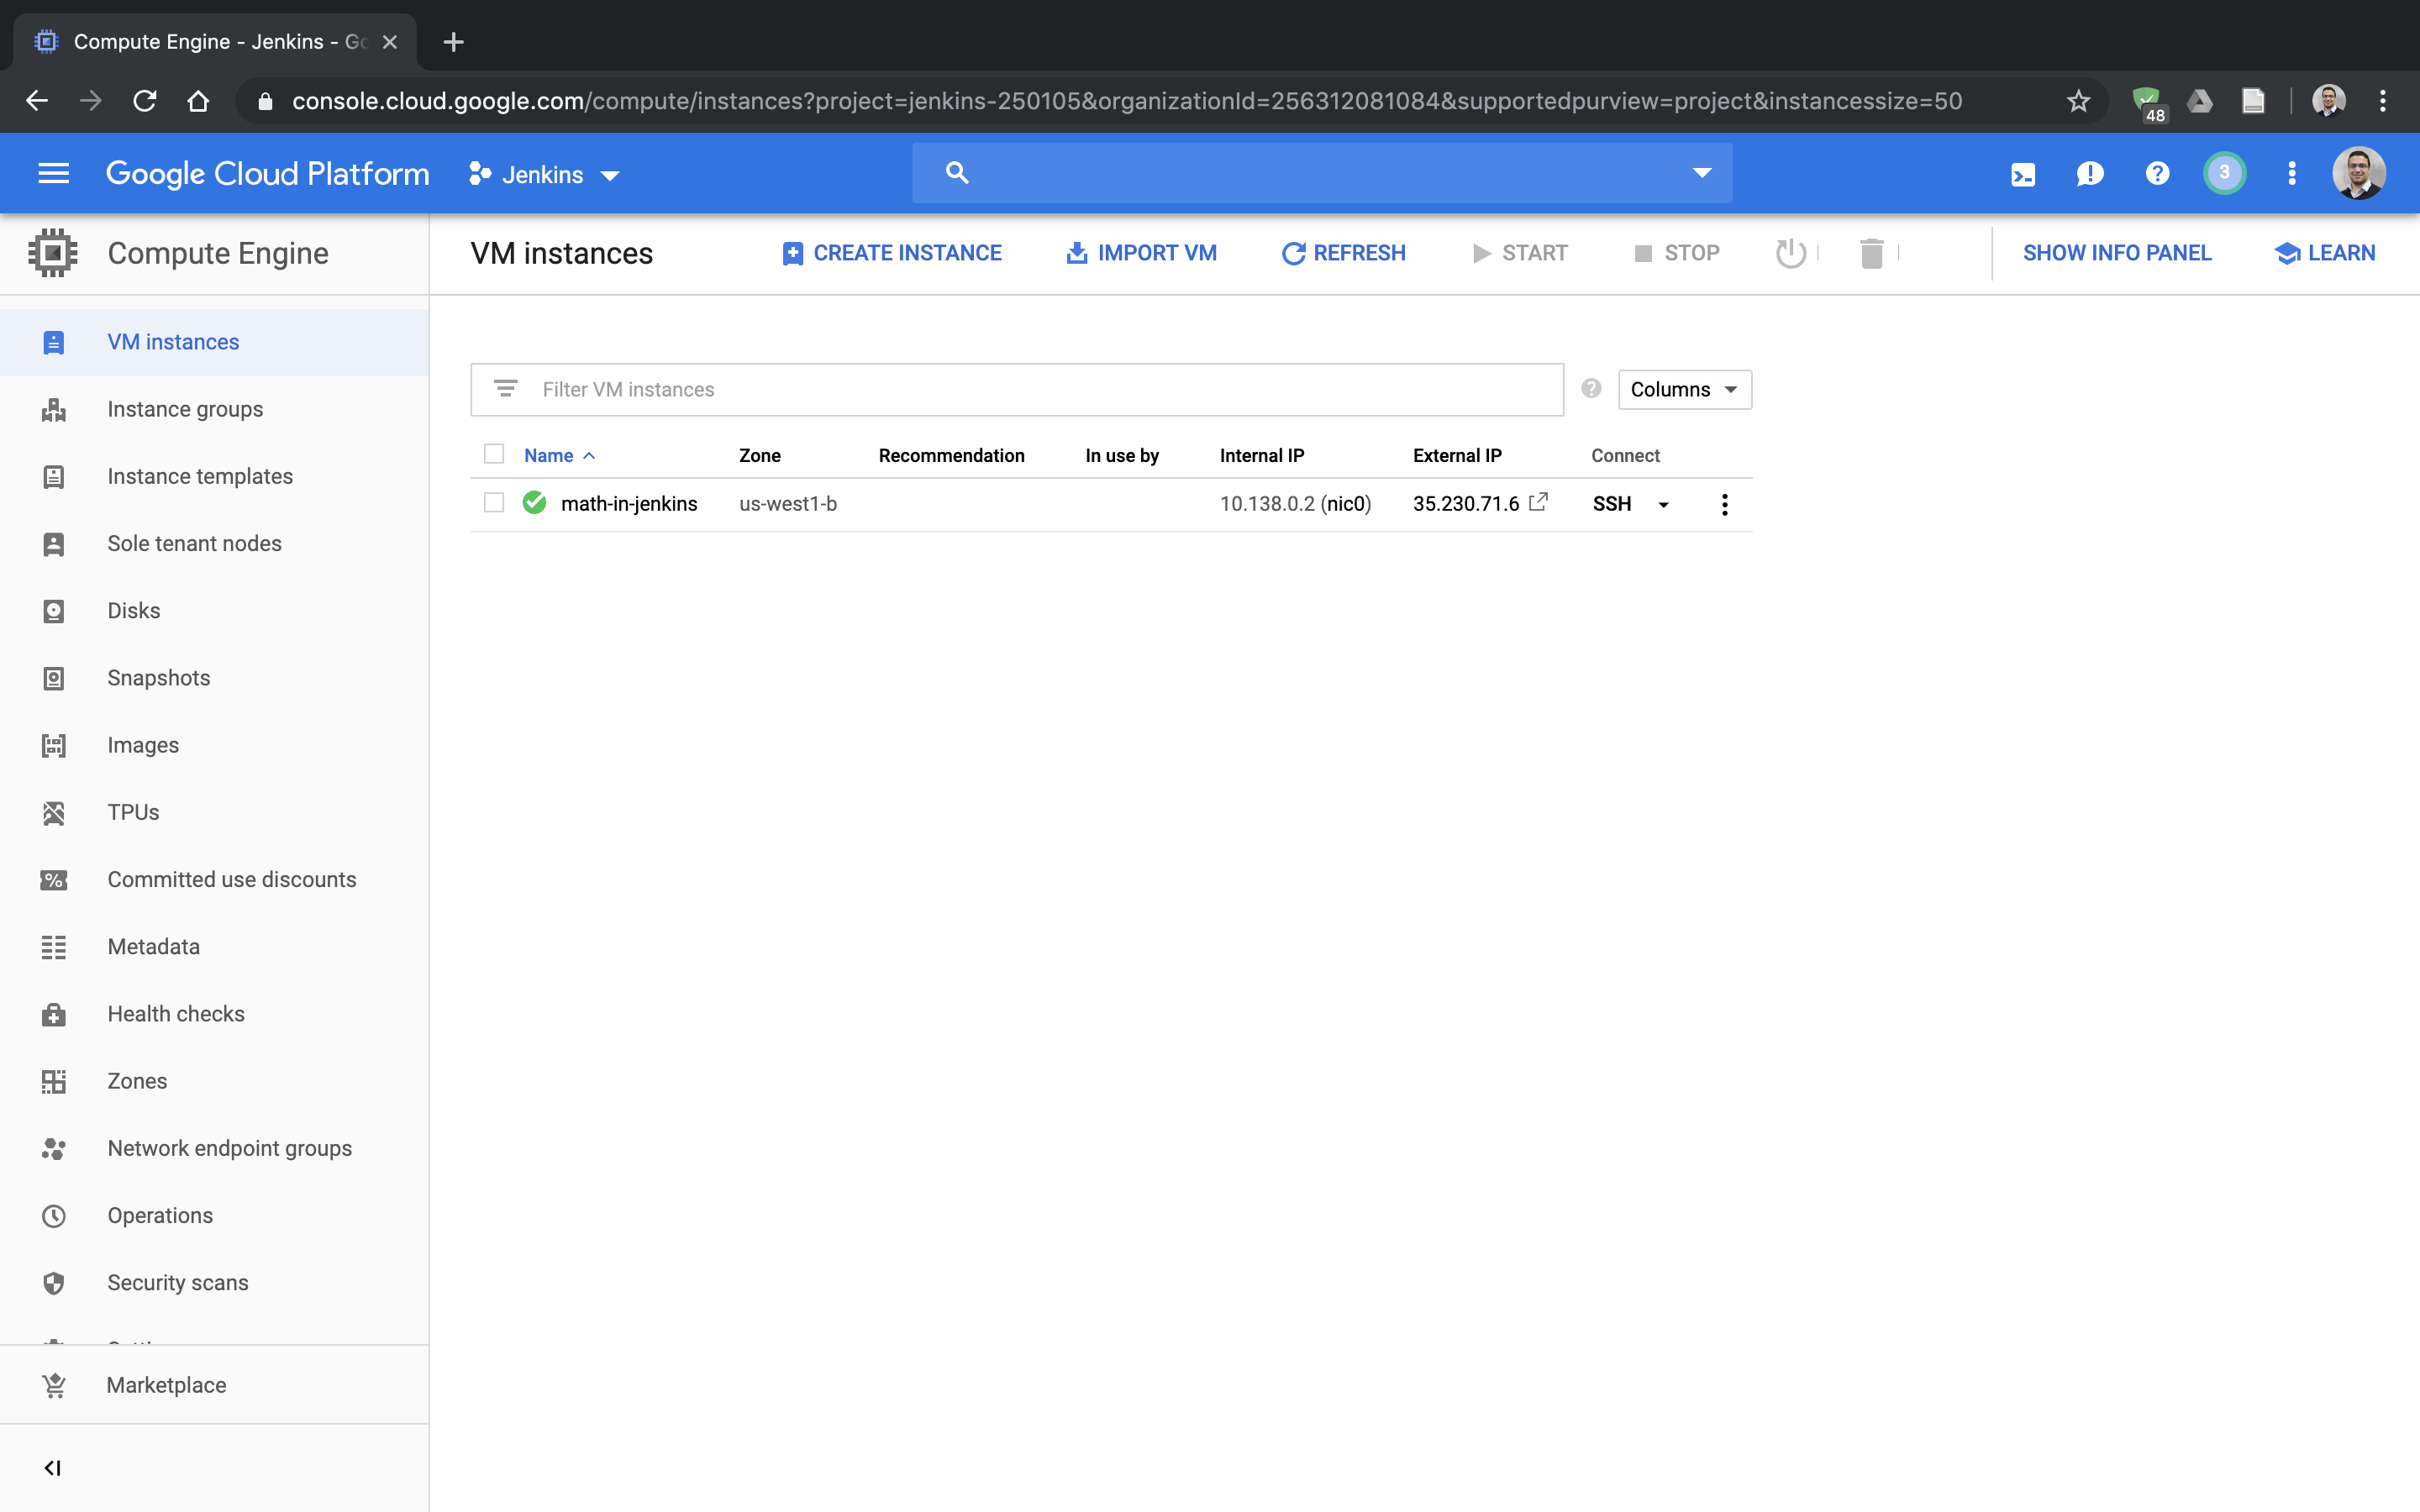
STEP 6: Once the VM is created, ssh to the machine from the browser by selecting from the menu open in a browser window.

STEP 7: You are in!
Set up Jenkins
In this part, we want to install jenkins and serve it at a given URL. We will also create an HTTPS certificate using let’s encrypt.
Install Prerequisites
sudo apt update: updates packagessudo apt install openjdk-8-jdk: install Java 8 (a prerequisite for Jenkins)sudo apt install apache2: install Apache web server (to serve Jenkins traffic)sudo apt install build-essential: install build tools for some apache modules to work.sudo a2enmod proxy && sudo a2enmod proxy_http && sudo a2enmod proxy_balancer && sudo a2enmod lbmethod_byrequests sudo a2enmod headers: enable Apache modules for proxying.sudo systemctl restart apache2: restart Apache to enable changes in the modules
CHECK: Apache should now be installed and working properly. Go to the IP address of the instance in the web browser. You should see the default landing page of Apache. If not, something has gone wrong. Check Apache log files. Also, if you type in the terminal sudo service apache2 status, you should see active (running)
Install Jenkins
Refer to Jenkins documentation if you are using a different OS.
wget -q -O - https://pkg.jenkins.io/debian/jenkins.io.key | sudo apt-key add -sudo sh -c 'echo deb http://pkg.jenkins.io/debian-stable binary/ > /etc/apt/sources.list.d/jenkins.list'sudo apt updatesudo apt install jenkinssudo systemctl start jenkins
CHECK: Jenkins is now installed. Check that it is running properly by typing in sudo service jenkins status. You should see active (running). If not, check the logs.
Link a Domain Name
cd /etc/apache2/sites-available/vim sudo vim 000-default.confConfigure the VirtualHost to look as the following. Replace the domain name with the domain you plan to link. In my case, it is
jenkins.abdelrahmanhosny.me. Also, editServerAdminemail.<VirtualHost *:80> ServerName jenkins.abdelrahmanhosny.me ProxyPreserveHost On ProxyPass / http://localhost:8080/ nocanon ProxyPassReverse / http://localhost:8080/ RequestHeader set "X-Forwarded-Proto" expr=%{REQUEST_SCHEME} ProxyRequests Off AllowEncodedSlashes NoDecode ServerAdmin email@domain DocumentRoot /var/www/html/jenkins ErrorLog ${APACHE_LOG_DIR}/error-jenkins.log CustomLog ${APACHE_LOG_DIR}/access-jenkins.log combined </VirtualHost>sudo systemctl restart apache2- IMPORTANT: Go to your domain registrar and update the
Arecord of the domain to point to the IP address of your instance. Allow for some time for the DNS recrods to propagate (usually about 10 minutes).
CHECK: In a new browser tab, type in the domain name, it should open the defaul Jenkins page. Do NOT configure Jenkins yet. If the page is not loading, the DNS record might be unset yet. If you waited for more time, try checking host <domain name> in your local terminal. If it shows the IP address of the machine, then some other error in the server happened. Check the Apache log.
Obtain HTTPS Certificate
sudo add-apt-repository ppa:certbot/certbotvim /etc/apt/sources.listand add the following lines.deb http://deb.debian.org/debian/ stretch main deb-src http://deb.debian.org/debian/ stretch main deb http://security.debian.org/ stretch/updates main deb-src http://security.debian.org/ stretch/updates main deb http://deb.debian.org/debian/ stretch-updates main deb-src http://deb.debian.org/debian/ stretch-updates main deb http://ftp.debian.org/debian stretch-backports mainsudo apt updatesudo apt install python-certbot-apache -t stretch-backportssudo certbot --apache -d jenkins.abdelrahmanhosny.meand replace the domain with your domain name.
CHECK: If you go to your web browser page for your domain and refresh it, you should see it being served under HTTPS now.
Configure Jenkins
- Obtain the initial password:
sudo cat /var/lib/jenkins/secrets/initialAdminPasswordin the terminal. - Use the password to start the configuration wizard in the browser. Use the default settings for the setup, unless you know what you are looking for.
Congratulations! You have a production-ready Jenkins master node.
Install Blue Ocean
Jenkins is mainly a very powerful automation server. However, when it was started, it wasn’t very CI friendly. However, thanks to its plugin ecosystem, great plugins made common tasks easy. The most important one is Blue Ocean plugin. It makes defining a CI pipeline from a git repository a simple task.
- In Jenkins dashboard, choose
Manage Jenkinsfrom the left sidebar. - Click
Manage Plugins. - Select
Availabletab. - Search for
blue oceanfrom the search box in the top right. - Select
Blue Oceanand clickDownload now and install after restart.
Link to GitHub
- In the dashboard, click
Open Blue Oceanfrom the left sidebar. - Choose GitHub from the available integration options.
- Since you don’t have an access key, click the link below the box to obtain an access key from GitHub with the permissions that Jenkins need.
- Save this key locally in a safe place. We will use it again shortly.
Build a Pipeline
Select your repository and create a pipeline. If your repository doesn’t have a Jenkinsfile already, the wizard will offer you to create one using its nice step-by-step guide.
Trigger on Git Pushes
If you push code to your repository, the pipeline won’t start automatically. The reason is Jenkins couldn’t create a webhook on GitHub to be notified if new changes are pushed to the repo. In order to fix this, follow the following steps
- In Jenkins dashboard, choose
Manage Jenkinsfrom the left sidebar. - Click
Configure System. - Under GitHub Section, click
Add - From the
kindmenu, selectSecret text - Paste in the GitHub access key (that we saved previously) in the Secret field.
- Select
Manage hooksand then clickTest connection. - If connection is successful,
savethe settings. - Now, newly created pipelines from the Blue Ocean interface will automatlically add a web hook to your GitHub repo. However, you might need to re-create the pipeline for the repo you added before in order to create a web hook.
Git Submodules
If your repository uses Git submodules, an additional configuration step needs to be done after the pipeline of the repository is added through Blue Ocean interface.
- Go back to main Jenkins dashboard, and click on the project.
- Select
Configurefrom the left sidebar. - Under Branch Sources, click on
Add - Select
Advanced sub-modules behaviours - Select
Recursively update submodulesandUse credentials from default remote of parent repository. - Click
saveand re-run the pipeline.
Summary
In this short tutorial, we created a production-ready Jenkins master node on a free GCP instance. It works well for small CI pipelines. Following the same steps on a bigger VM instance makes the Jenkins server capable of handling serious tasks in modern CI pipelines.